Drawing
It's amazing what can be accomplished with a single pixel brush and a lot of patience! While Pixaki is dedicated to the craft of pixel-art, there are also tools to speed up the creation process. This section is about drawing in Pixaki, and the tools you'll use bring your art to life.

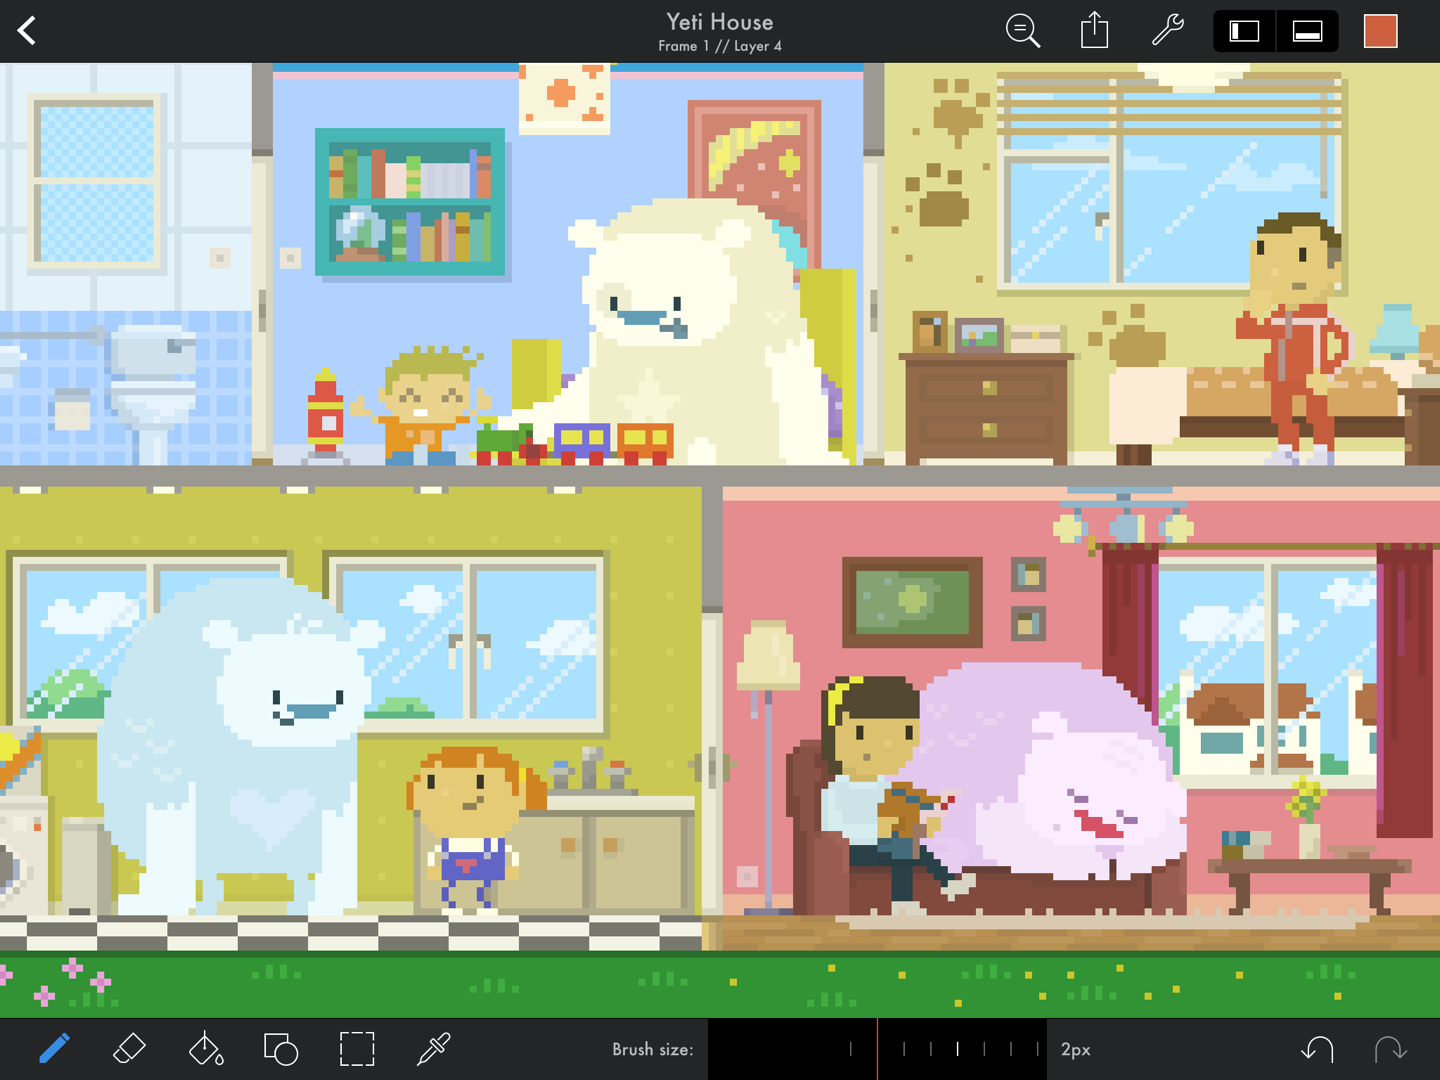
Artwork by Genuine Human Art.
Pixel brush
The brush tool is a solid square pixel brush. Touch and drag across the screen to draw freeform lines. Use the slider at bottom of the screen to adjust the size of the brush, from 1 ✕ 1 px to 20 ✕ 20 px.
Eraser
The eraser is great for making small corrections to your pixel art, and works similarly to the brush. Use the slider on the bottom of the screen to adjust the size.
Bucket fill
Use the bucket tool if you want to quickly fill a large area with a single colour, or replace a colour that you've already painted. Select the bucket tool, then tap on the area you'd like to fill with the currently selected colour.

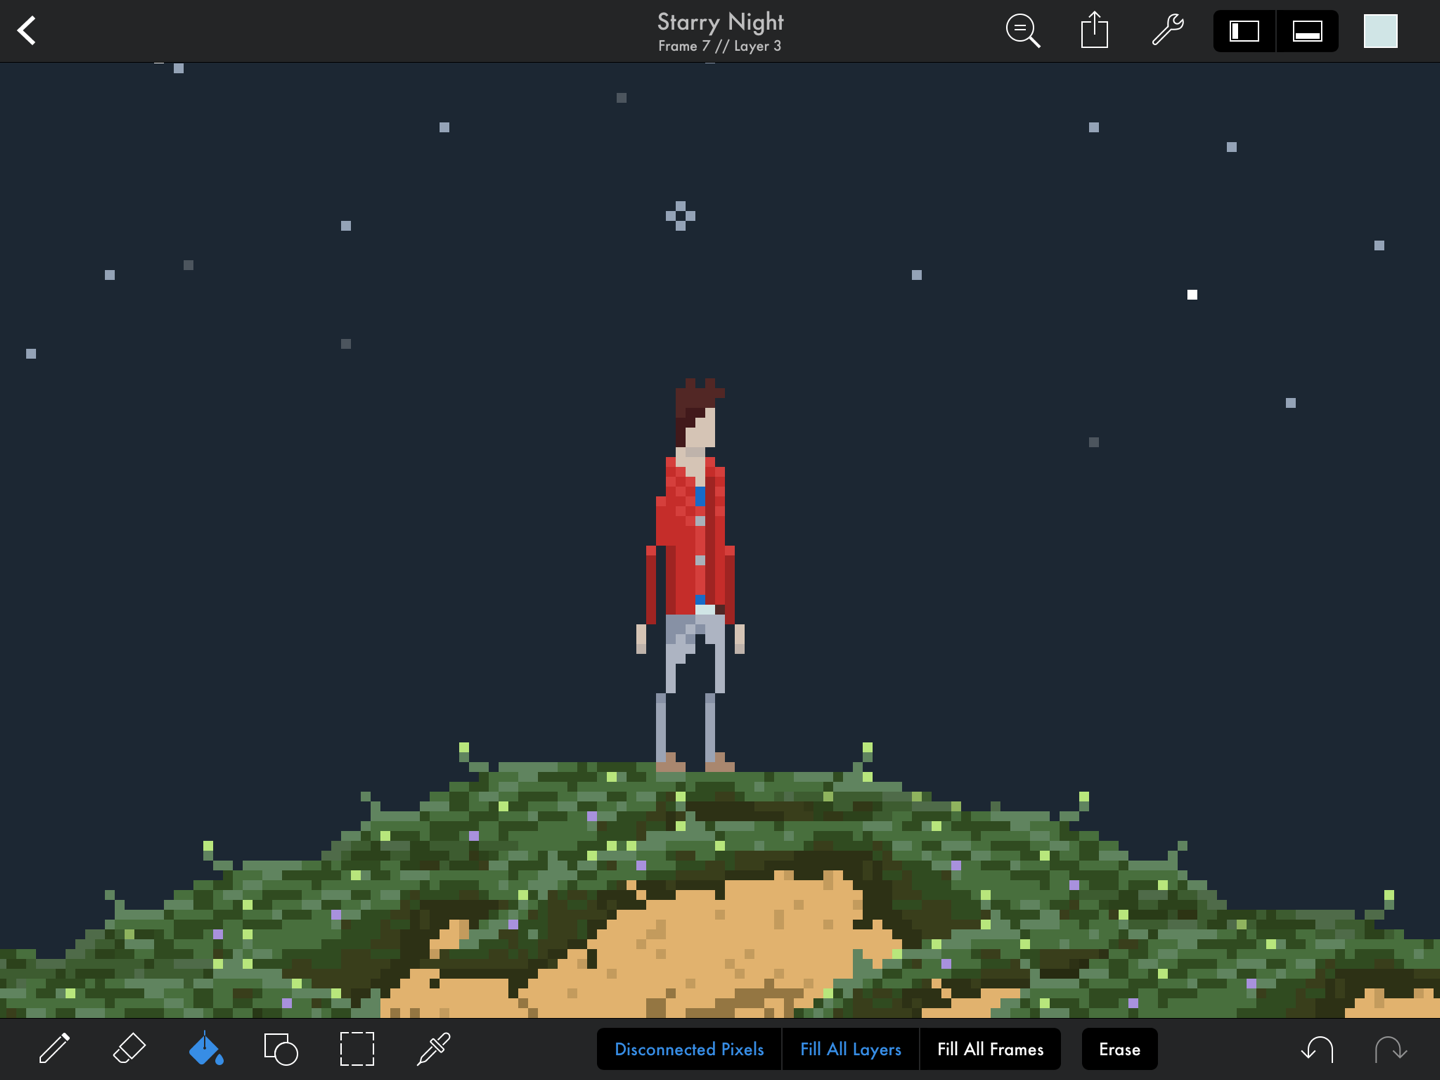
Artwork by Toby Ryan.
But the bucket fill tool can do much more – it's actually a powerful colour replacement tool. By selecting 'Disconnected Pixels', the fill will now affect not just the connected pixels (sometimes referred to as contiguous), but any other pixels of the same colour on the same layer. Selecting 'Fill All Layers' will do the same, but for all layers in the current frame. Selecting 'Fill All Frames' will now replace the target colour across the entire document, making it a great way to work with a limited palette.
Shapes and lines
Selecting the tool brings up the options for shape and line tools.
Lines
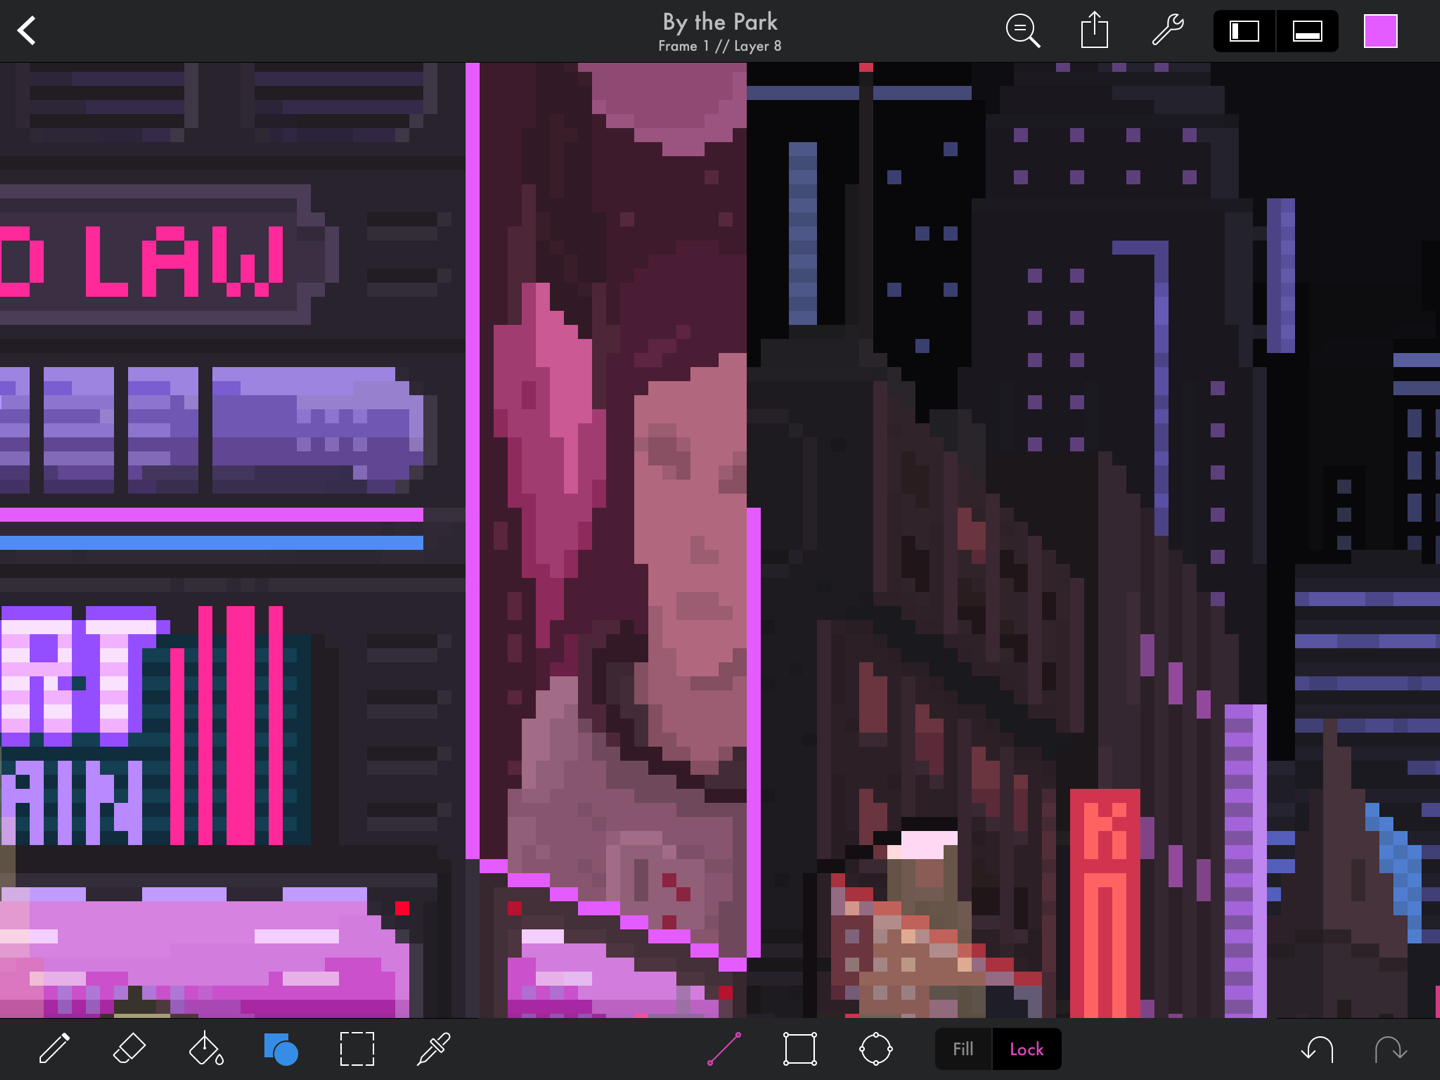
The line tool is great for drawing perfectly straight lines. Touch and drag to create a line — you can adjust the end point by moving your finger to wherever you want it to be, then lift your finger to set it in place. The 'Lock' option will lock the line to certain angles — horizontal, vertical, 1:1, 2:1, and 1:2 — particularly useful for isometric drawings.

Artwork by Genuine Human Art.
Rectangles
Use the rectangle tool by touching and dragging on the screen to describe the size and location. Selecting the 'Fill' option will fill the shape, and the 'Lock' option will lock it to a square.
Ellipses
Use the ellipse tool in a similar way to the rectangle tool — the ellipse will be drawn to fill the bounds of the rectangle the touch gesture describes. Selecting 'Fill' will fill the shape with the selected colour, and the 'Lock' option will lock it to a circle.
Circles in pixel art are a challenge! Hand drawn circles created by an experienced pixel artist will always look less jagged than those drawn by a computer algorithm. It should be noted that shapes created with the ellipse tool in Pixaki may need to be further refined by hand.
Undo and redo
You can quickly correct mistakes using the and
buttons. There are also gesture shortcuts — tap on the canvas with two fingers to undo and with three fingers to redo.
100% zoom preview
It's often useful to see how your pixel art looks at 100% magnification. To do this in Pixaki, press and hold on the button in the top right of the screen. While this button is pressed, the zoom will be set to 100%, and when it is released the canvas zoom and position will be reset to their previous values.
Like all zooming in Pixaki, the 100% zoom preview does not account for Retina display resolutions. Retina iPad's have double the pixel density, so at 100% zoom, one pixel on the canvas will actually be four pixels on the device.
