Adjustments
Adjustments can be made to the current project using the adjustments menu. Select the ![]() icon from the top toolbar to access the menu.
icon from the top toolbar to access the menu.
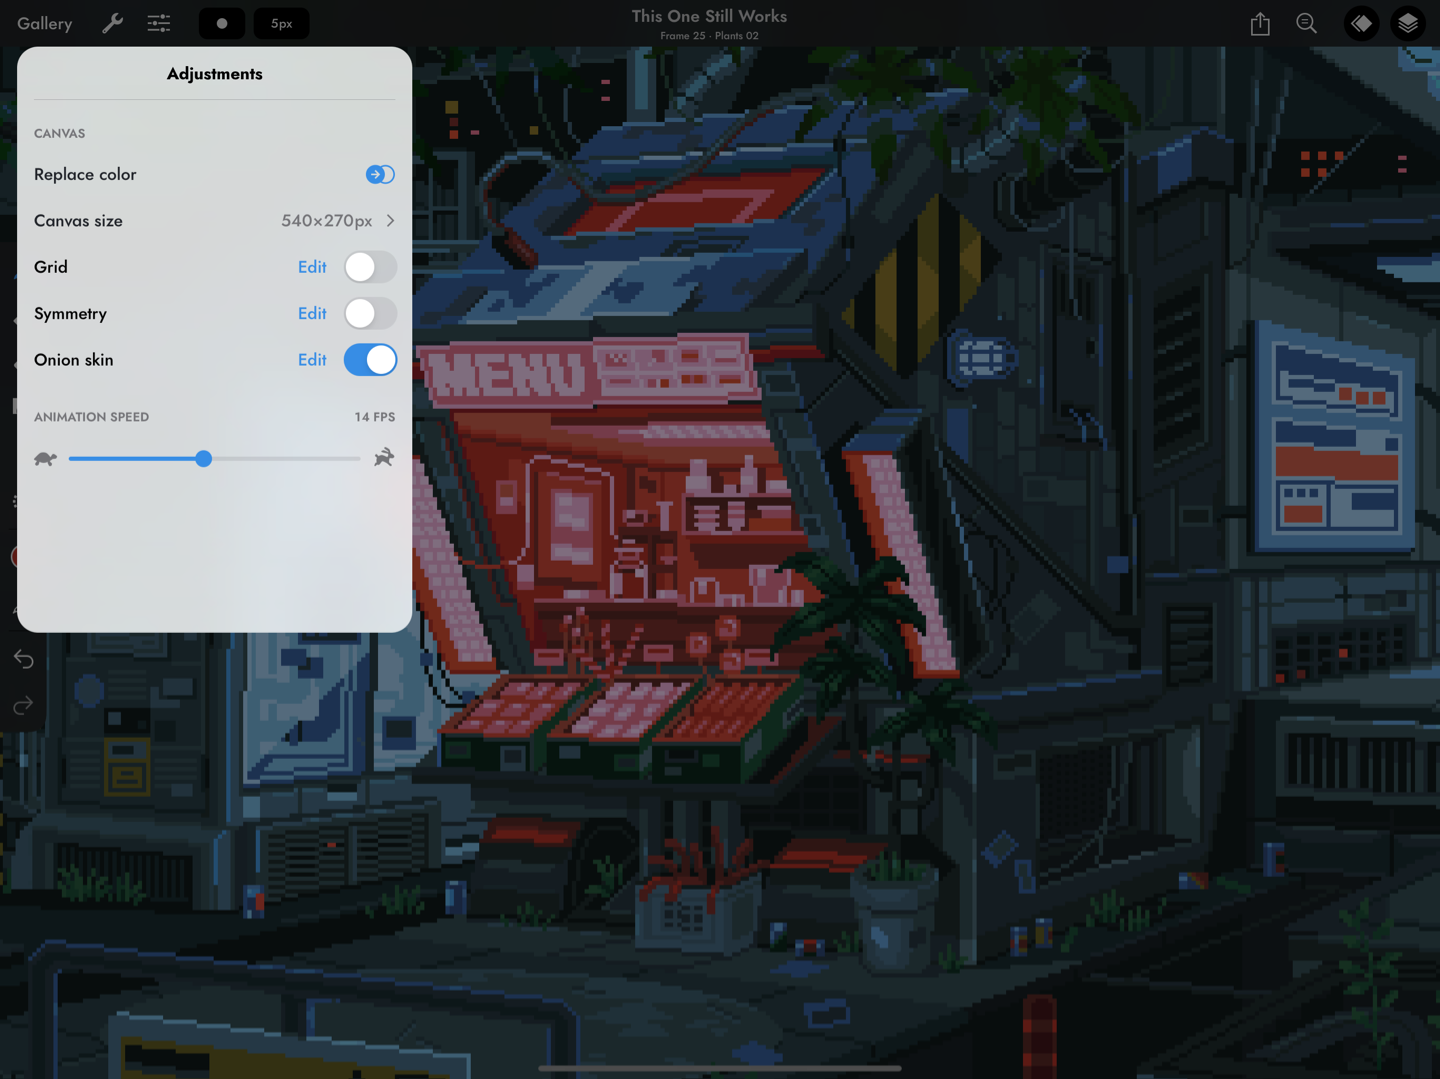
Artwork by waneella.
Replace colour
You can replace any colour in your project with another colour by selecting the ‘Replace colour’ option from the adjustments menu.
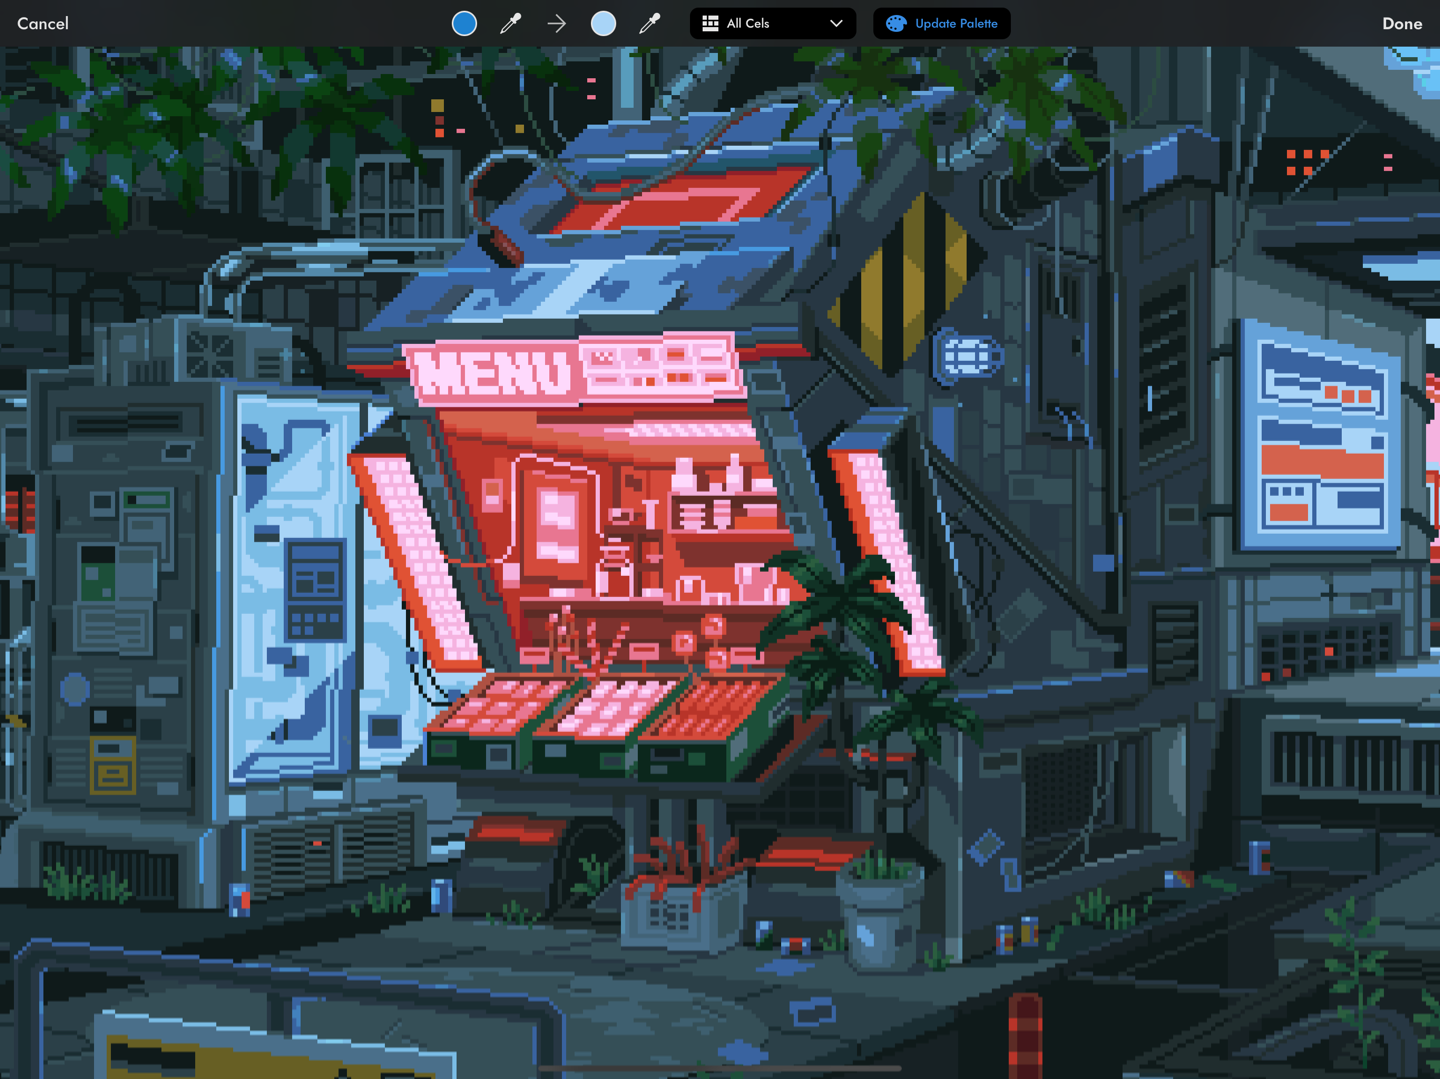
Artwork by waneella.
There are two colour pickers in the toolbar: the one on the left is for selecting the target colour, and the one on the right is for selecting the destination colour. Tap on the colour well to bring up the colour panel, or select the ![]() button to sample a colour from the canvas.
button to sample a colour from the canvas.
The scope picker lets you choose between affecting the current cel, all cels on the current layer, or all cels i.e. the whole project.
You can also choose to change the target colour to the destination colour in the palette if it is present by selecting the ‘Update Palette’ button.
You’ll see a live preview of the colour replacement when any of these options are changed.
Use the ‘Cancel’ button to cancel changes and use the ‘Done’ button to apply them.
Resize the canvas
You can adjust the size of the canvas by selecting the ‘Canvas size’ option, which will take you to the canvas resize screen. Touch and drag on the resize handles to adjust the size, which can be made smaller or larger than the current canvas. Touch and drag on the image to reposition it within the frame.
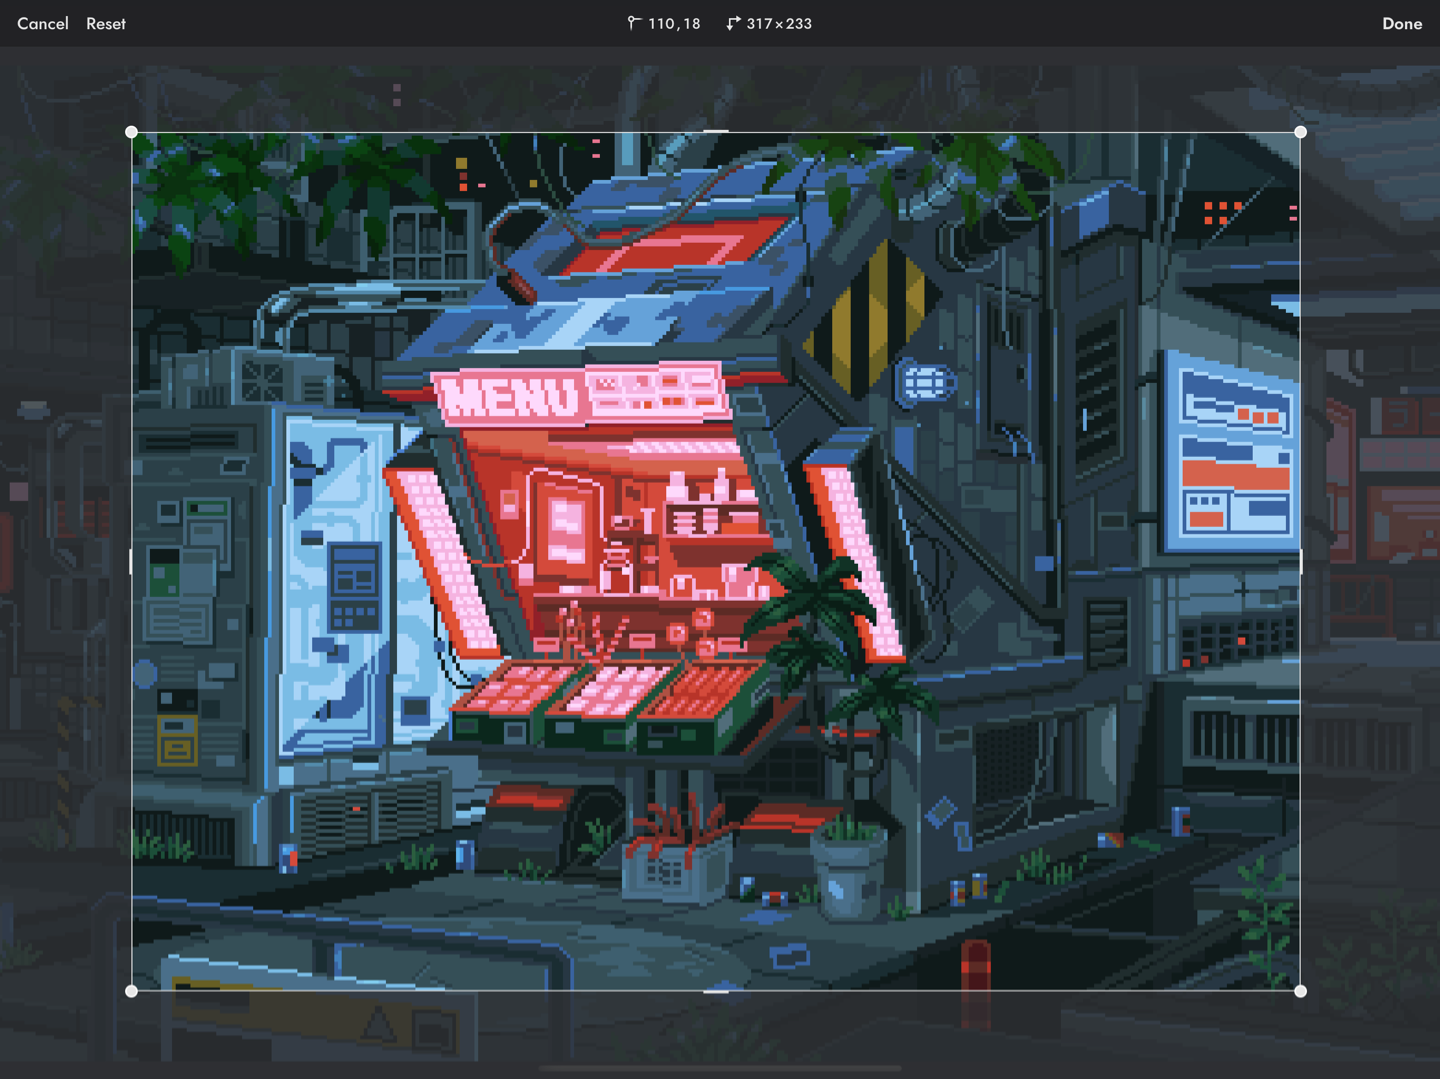
Artwork by waneella.
The location and size of the current selection are shown in the bar at the top; tapping on these will open a number pad where you can input an exact value.
Use the ‘Cancel’ button to revert all changes and return to the canvas. Use the ‘Reset’ button to reset the changes but stay on the canvas resize screen.
When you are happy with the new size, press the ‘Done’ button to resize. Resizing the canvas is undoable, so you don’t need to worry about losing work if you make a mistake.
Grid
Pixaki has a fully customisable grid that can be overlaid on the artboard to help with aligning elements or creating tilesets. Toggle the grid on or off using the switch in the adjustments menu. If on, the grid will be shown when the canvas zoom is greater than 100%. To edit the grid, tap on the “Edit” button.
Grid size
Adjust the number of pixels between the grid lines.
Colour
Adjust the colour and opacity of the grid lines.
Save as Defaults
Save the grid configuration as the default configuration for new projects.
Symmetry
The symmetry option allows you to mirror anything drawn using the brush, eraser, or shape tools, reflected in an adjustable axis. Toggle symmetry on or off using the switch in the adjustments menu. Tap on the “Edit” button to adjust the symmetry options.
Direction
Choose to mirror horizontally, vertically, or both horizontally and vertically.
Lock
When turned on, the symmetry axes are locked in place and can’t be repositioned until the lock is turned off.
Recentre
Places both axes at the centre of the canvas. If they are already centred, this button will be disabled.
Onion skin
There are many options available for the onion skin feature in Pixaki. Toggle onion skin on or off using the switch in the adjustments menu, or using the ![]() button from the animation toolbar. Tap on the “Edit” button to adjust the onion skin options.
button from the animation toolbar. Tap on the “Edit” button to adjust the onion skin options.
Opacity
Use the slider to adjust the opacity of the onion skin. Tapping on the ![]() or
or ![]() will decrement or increment the value respectively.
will decrement or increment the value respectively.
Colour
The onion skin image can be tinted in order to help you to differentiate between the content on different frames.
Original will keep the original image colours and apply no colour tinting.
Tint will recolour the images whilst maintaining some of the shadows and highlights so that you can see the details in the image.
Silhouette will show the shape of the images on the previous and next cels, ignoring the original colour but maintaining the alpha values.
The previous frame’s image will be coloured red, and the next frame’s image will be coloured green.
Loop
With the the loop option turned on, the frames from the start of the animation will be shown when the end frames are selected, and the frames from the end of the animation will be shown when the start frames are selected. This is useful when creating looping animations.
Keyframes before / after
These options control how many of the keyframes before and after the current keyframe are shown. Up to five keyframes can be shown in both directions. The onion skin images will decrease in opacity depending on how far away from the current frame they are.
Save as Defaults
Save the onion skin options as the default options for new projects.
Animation speed
Use the slider to adjust the speed of the animation, from 1fps (frame per second) to 30fps. The currently selected value is shown above the slider. You can also use the ![]() and
and ![]() buttons to decrement and increment the value. If you adjust the speed while the animation is playing, the playback speed will update live.
buttons to decrement and increment the value. If you adjust the speed while the animation is playing, the playback speed will update live.