Cels
A cel in Pixaki is a static image. By changing the contents or position of a cel on different frames, you can create frame-by-frame animations. The name comes from the celluloids used in traditional hand drawn animation.
In an animated layer, the cel changes on every frame. On a static image layer, the cel is the same across the whole timeline.
While cels and layers share some similar properties, such as visibility and opacity, they are conceptually very different. A layer is a collection of cels and the layer itself is consistent across the entire animation timeline, so if you adjust the opacity of a layer, it will change on every frame of animation. A cel exists on only one frame when on an animated layer, so adjusting the opacity will only change it on that frame.
If you are not animating in Pixaki, it’s probably best to ignore cels and make adjustments on the layer instead.
Cels list
Cels are shown alongside their parent layer in the side panel. They are linked to their parent layer, but have their own menu, which is triggered by tapping on the cel image of the currently selected cel.
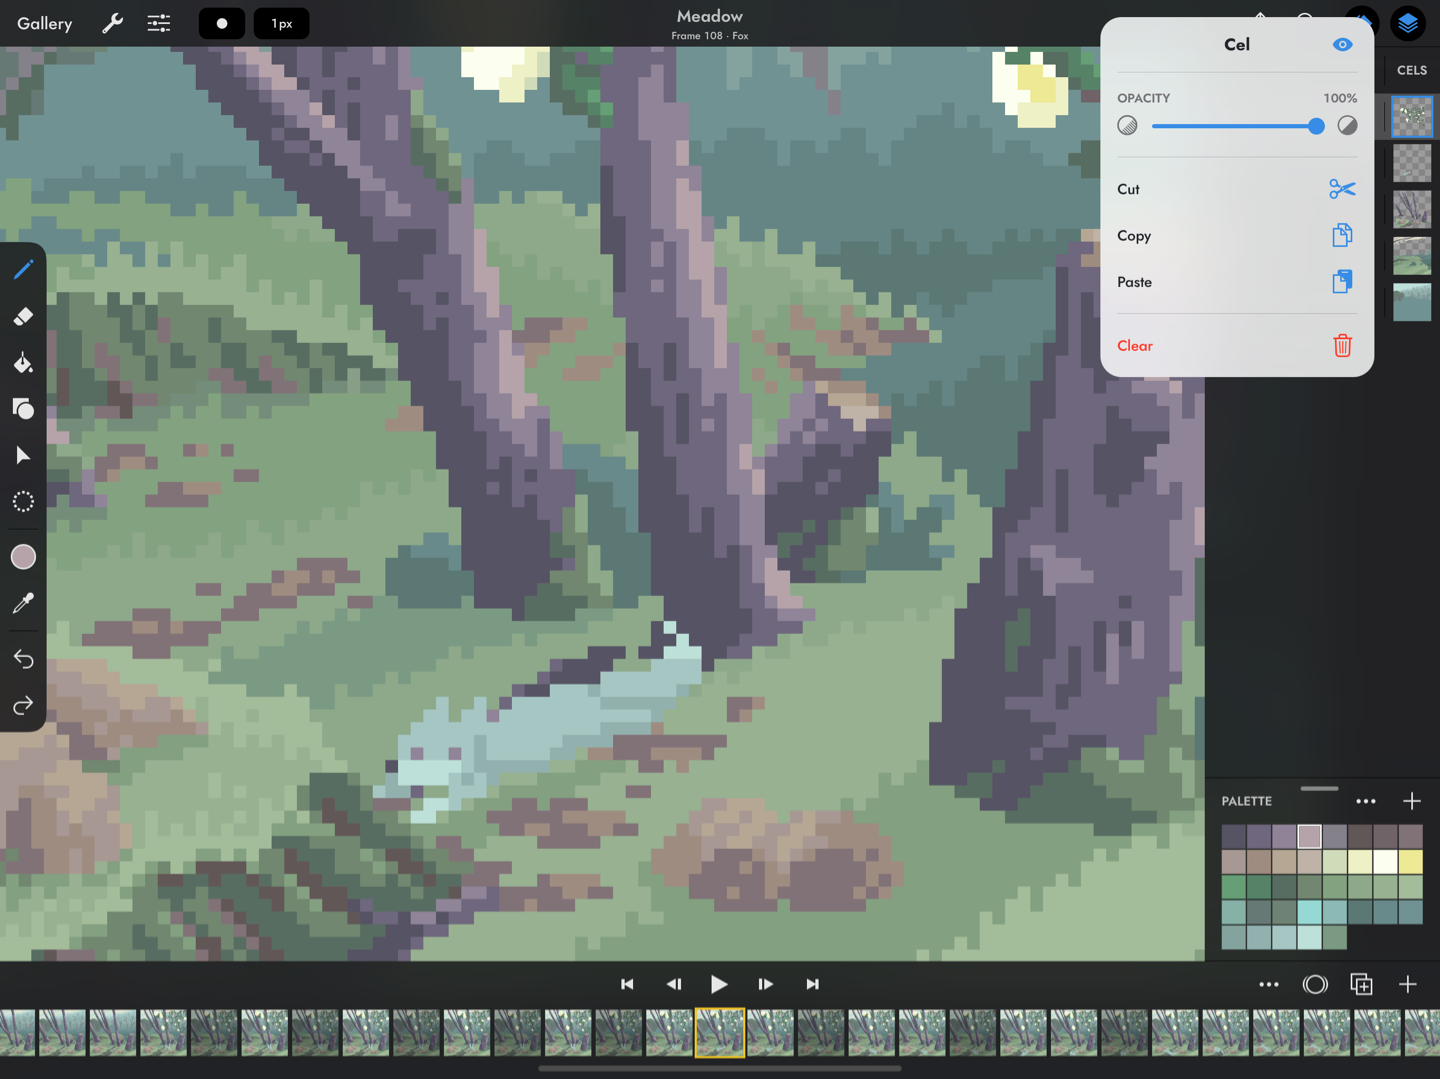
Actions
You can perform actions on a cel through the cel menu. Tap on the cel image of the currently selected cel in the list to open the cel menu.
Artwork by Brendan Marnell.
Adjust the visibility
Toggle the visibility of the cel using the ![]() button in the cel menu. Adjust the opacity using the opacity slider. Tapping on the
button in the cel menu. Adjust the opacity using the opacity slider. Tapping on the ![]() and
and ![]() icons will decrement or increment the value respectively. The current opacity is shown above the slider as a percentage value.
icons will decrement or increment the value respectively. The current opacity is shown above the slider as a percentage value.
Cut, copy, and paste
Cut, copy, and paste buttons can be found in the cel menu. Cel images can be copied to other apps, and any image can be pasted as a cel.
Clear
To delete the contents of a cel, use the ‘Clear’ button in the cel menu.