Drawing
It’s amazing what can be accomplished with a single pixel brush and a lot of patience! While Pixaki is dedicated to the craft of pixel-art, there are also tools to speed up the creation process. This section is about drawing in Pixaki, and the tools you’ll use bring your art to life.
The side toolbar provides access to the primary drawing tools in Pixaki.
Brush and eraser
The brush tool is perfectly optimised for pixel art, but also provides a powerful array of features.

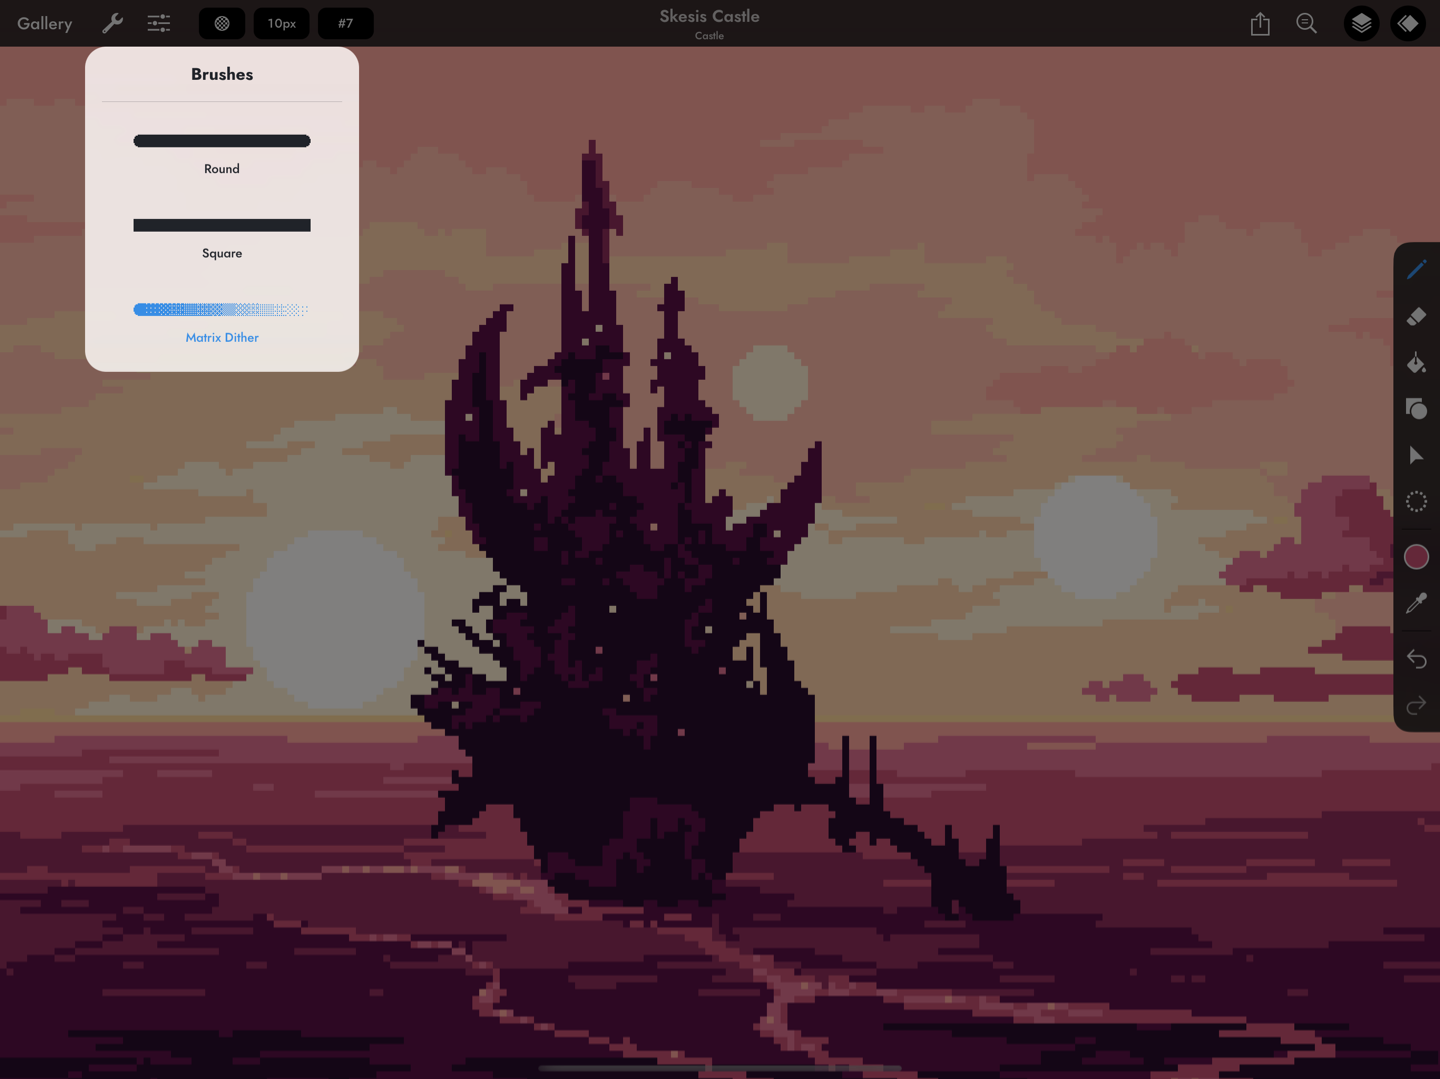
Artwork by rachels_ham.
There are three types of brush in Pixaki — round, square, and matrix dither. You can switch between them in the brush picker menu.
Change the size of the brush by tapping on the current size in the toolbar to open the brush size menu.
For the round and square brushes, you’ll also see a “pixel perfect” option. The pixel perfect algorithm intelligently removes double pixels when drawing with a single pixel brush, so is perfect for line art.
When the matrix dither brush is selected, you’ll see the dither pattern number in the toolbar — tap on this to open the dither pattern menu. Here you can change which pattern is selected, and also change the alignment of the pattern. Setting the alignment to ‘canvas’ will align the pattern to the canvas so that the pattern will line up no matter where you start your brush stroke. Setting the alignment to ‘brush’ will align the pattern to the start of your brush stroke each time you begin painting.
Select the brush with B.
The eraser has all of the same options as the brush.
Select the eraser with E.
Fill tool
Use the fill tool if you want to quickly fill a large area with a single colour, or replace a colour that you’ve already painted. Select the bucket tool, then tap on the area you’d like to fill with the currently selected colour.
With the ‘Contiguous’ option on, all of the pixels connected to the target pixel will be changed to the currently selected colour. With ‘Contiguous’ off, all pixels that are the same colour as the target pixel on the current cel will be affected.
Turn on the ‘erase’ option to erase the pixels instead of changing them to the selected colour.
Select the fill tool with G.
Shapes and lines
Selecting the shape tool brings up the options for shape and line tools.
Lines
The line tool is great for drawing perfectly straight lines. Touch and drag to create a line — you can adjust the end point by moving your finger or Apple Pencil to wherever you want it to be, then lift to set it in place. The ‘Lock’ option will lock the line to certain angles — horizontal, vertical, 1:1, 2:1, and 1:2 — particularly useful for isometric drawings.
Rectangles
Use the rectangle tool by touching and dragging on the screen to describe the size and location. Selecting the ‘Fill’ option will fill the shape, and the ‘Lock’ option will lock it to a square.
Ellipses
Use the ellipse tool in a similar way to the rectangle tool — the ellipse will be drawn to fill the bounds of the rectangle the touch gesture describes. Selecting ‘Fill’ will fill the shape with the selected colour, and the ‘Lock’ option will lock it to a circle.
Ellipses in Pixaki have been optimised to look great even at small sizes, with no double pixels or unusual shapes that you might see in some other digital drawing tools.
Move and transform
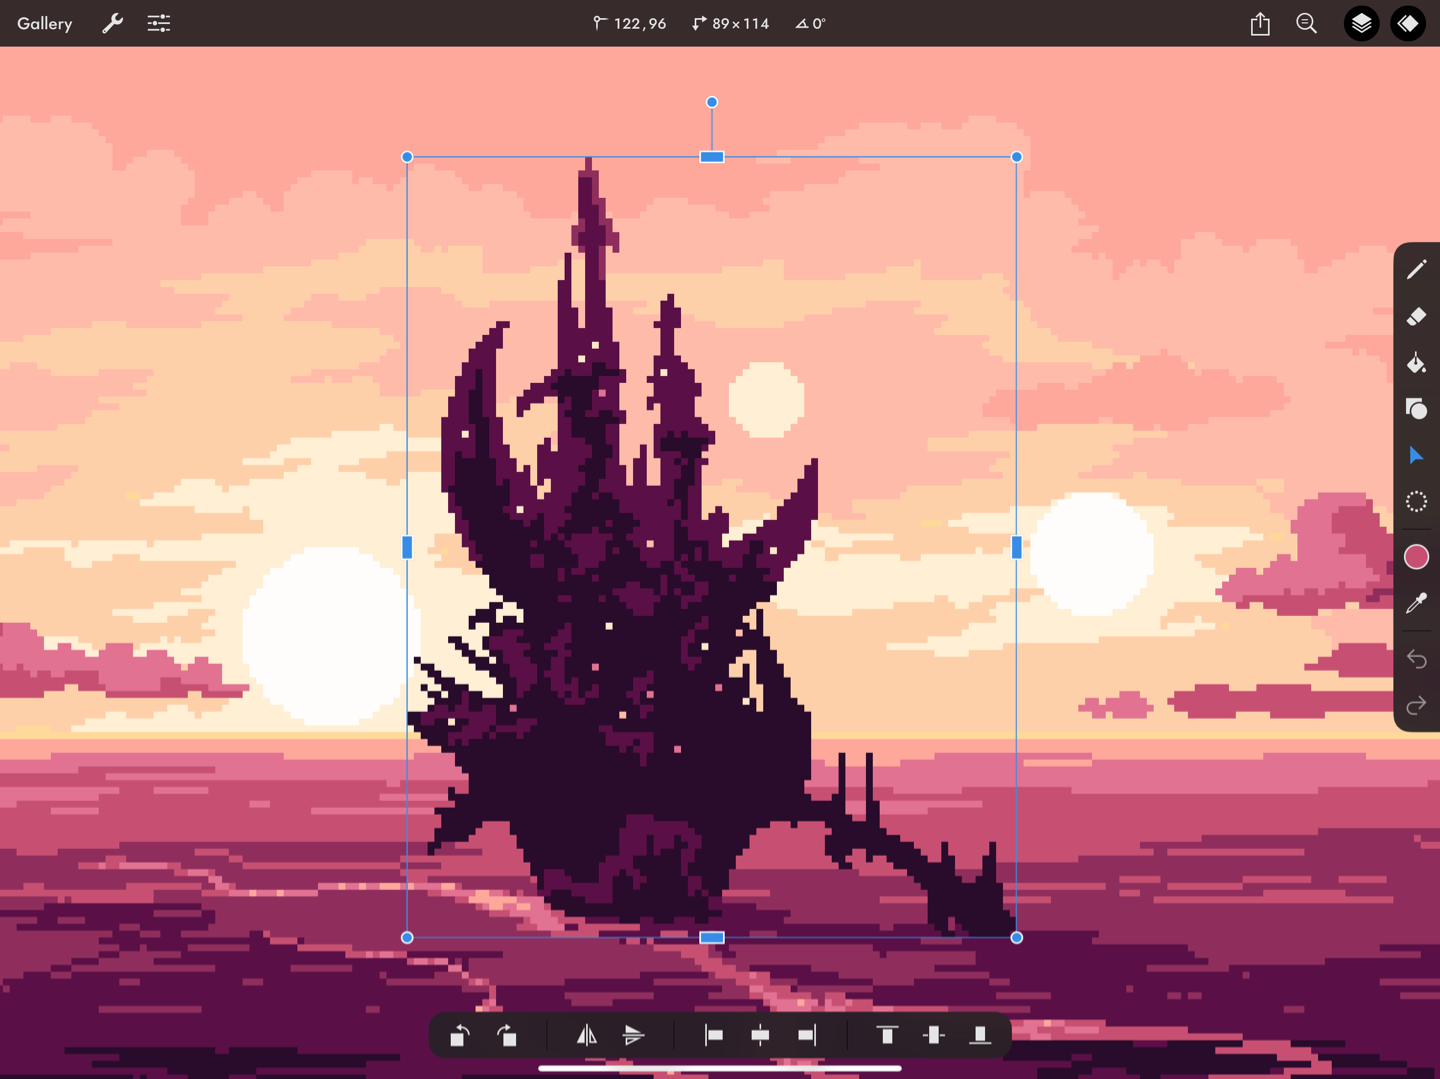
You can manipulate the size and location of the current cel using the move tool . Drag anywhere to move the current cel. The round adjustment handles in the corners allow you to resize the cel whilst maintaining the same aspect ratio. The rectangular handles at the top, bottom, and sides allow you to stretch or squash the image.

Artwork by rachels_ham.
In the top bar, you’ll see the cel’s current position (relative to the top left corner), and size. Tap on the position to bring up a number pad where you can type in a new position. Tap on the size
to adjust the size using a number pad. Likewise, tap on the angle of rotation
to adjust the rotation using a number pad.
In the action bar beneath the canvas, you’ll see the following options:
Rotate 90º anticlockwise.
Rotate 90º clockwise.
Flip horizontally.
Flip vertically.
Align to the left of the canvas.
Centre on the canvas horizontally.
Align to the right of the canvas.
Align to the top of the canvas.
Centre on the canvas vertically.
Align to the bottom of the canvas.
Select the move tool with V. Use the arrow keys to move the cel one pixel at a time. Hold down Shift ⇧ while pressing an arrow key to move by 10 pixels.
Undo and redo
You can quickly correct mistakes using the undo and redo
buttons. There are also gesture shortcuts — tap on the canvas with two fingers to undo and with three fingers to redo.
Tap the canvas with two fingers to undo, and with three fingers to redo.
Use Command ⌘ + Z to undo, and Command ⌘ + Shift ⇧ + Z to redo.
